Layers
At the core of Floe are the 3 independent layers, each with their own instrument and sound-shaping options. This structure allows for blending multiple sounds together to create dynamic, rich, and complex tones.
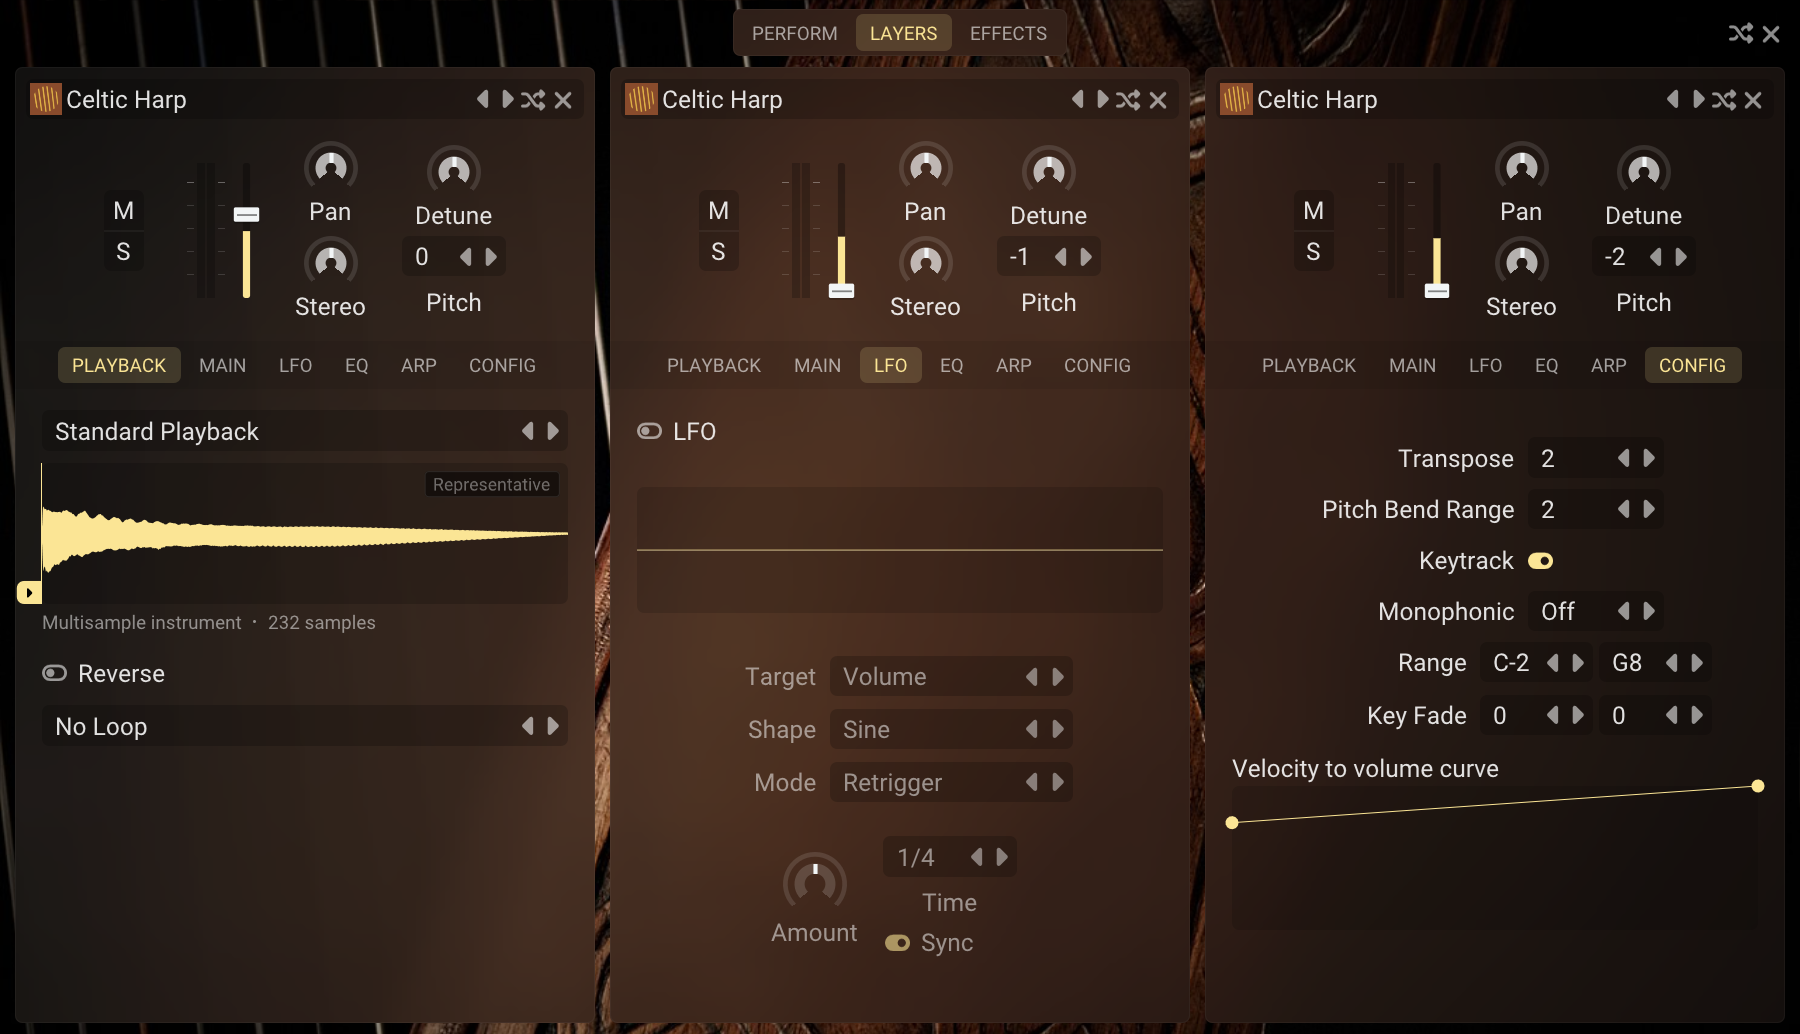
These are displayed in three columns on the main panel. Each layer is identical. Floe’s layers are the first things in the processing chain; each layer is processed in parallel, and then the three streams of audio are mixed together and fed through the effects rack, from top to bottom.
When you play a note into Floe, all layers are triggered simultaneously.
If a layer doesn't have an instrument (the sound-generator at the heart of a layer), it is inactive. Click the x-mark icon button at the top right of a layer to clear it.
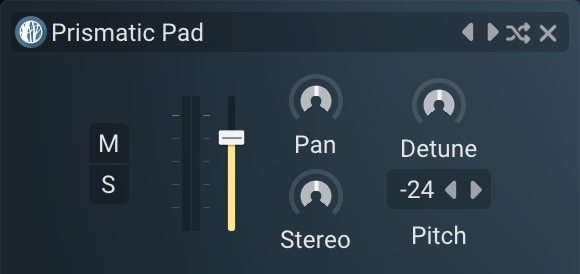
Top Controls
A permanent fixture on each layer are the top controls, which provide quick access to key functions.
- 1: the instrument selector: click this to open the browser and select a new instrument for this layer - or unload the current one. You can also right-click and choose 'Unload' from the menu, or click the x-mark.
- 2: instrument navigation: left/right arrows to quickly switch between instruments, a randomise button to load a random instrument, and an unload button to clear this layer. The navigation and randomise buttons are based on the current filter settings in the browser. For example, if you have selected the 'Distant Signals' sample library on the browser's filters, the navigation buttons will only cycle through instruments from that library.
- 3: mute/solo buttons: buttons to mute or solo this layer. Soloing a layer automatically mutes the other two layers.
- Volume: adjust the layer's output volume.
- Pitch: adjust the layer's pitch in semitones. Double click the number to type in a precise value. Or click and drag to change the value, or use the left/right buttons.
- Detune: adjust the layer's pitch in cents (hundredths of a semitone).
- Pan: adjust the layer's stereo position. Uses a constant power pan law (AKA -3dB centre).
- Stereo: increase or decrease the stereo width of the layer.
Playback Tab
The Playback tab controls how the loaded instrument's samples are played back.
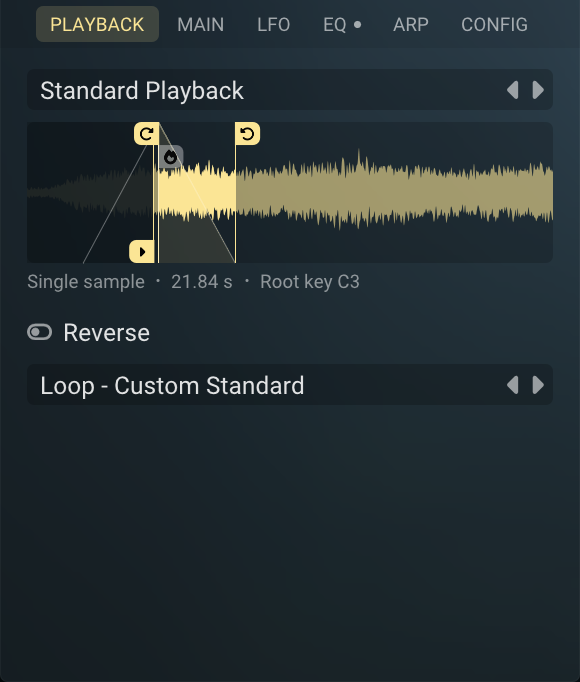
- Play mode (top selector): switches between Standard Playback (normal sample playback) and granular modes for time-stretching or frozen-position playback. The waveform will often have looping controls on it.
- Waveform display: shows the waveform and voice markers. For a single-sample instrument this is the actual sample; for a multisampled instrument it often displays the last played sample, although it will sometimes deliberately lock with a checkered overlay to avoid rapid flickering images. The arrow on the left edge is the sample-start handle — drag it to adjust where playback begins. When you play a note, red voice markers track across the waveform.
- Sample info caption: shows single sample or multisample, the sample length, and the root key of the loaded instrument.
- Reverse: toggle to play the sample(s) in reverse.
- Loop mode (bottom selector): select the looping mode — No Loop, Standard, Ping-Pong, etc. Visit the looping page for full details.
It's typically a good idea to add a small attack using the volume envelope to avoid clicks if you change the sample-start position.
Main Tab
The Main tab houses the volume envelope and the per-voice filter.
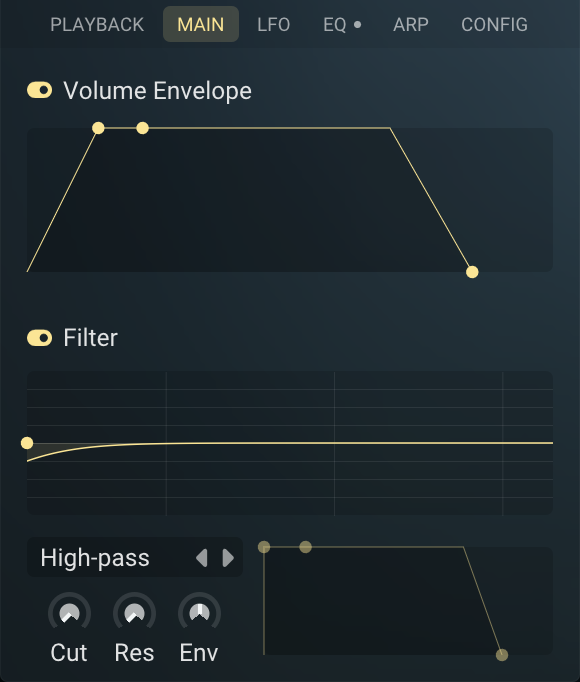
Volume Envelope
- Volume Envelope on/off: typically it's best to leave the volume envelope enabled, but in some situations you can turn it off to allow samples to play unaltered in their entirety.
- ADSR graph: 3 draggable points representing Attack, Decay+Sustain, and Release. Use these to shape this layer's voices volume over time. Hold
shiftfor fine adjustments.
Filter
Each voice belonging to this layer can be processed by a filter to shape its frequency content.
- Filter on/off: toggle to enable or disable the filter for this layer.
- Filter graph: an interactable frequency-response graph.
- Filter type selector: click to open a menu of available filter types such as low-pass, high-pass, band-pass.
- Cut: adjust the filter's cutoff frequency.
- Res: adjust the filter's resonance (emphasis around the cutoff frequency).
- Env: this bi-directional control adjusts how much the filter's cutoff is modulated by the filter envelope to the right. At the middle position the envelope has no effect; positive values open the cutoff up as the envelope progresses, negative values close it down.
- Filter envelope ADSR: in the same manner as the volume envelope, 3 draggable points representing Attack, Decay+Sustain, and Release shape how the filter cutoff moves over time, scaled by Env.
LFO Tab
The Low Frequency Oscillator (LFO) can modulate various parameters to add movement and interest to the sound.
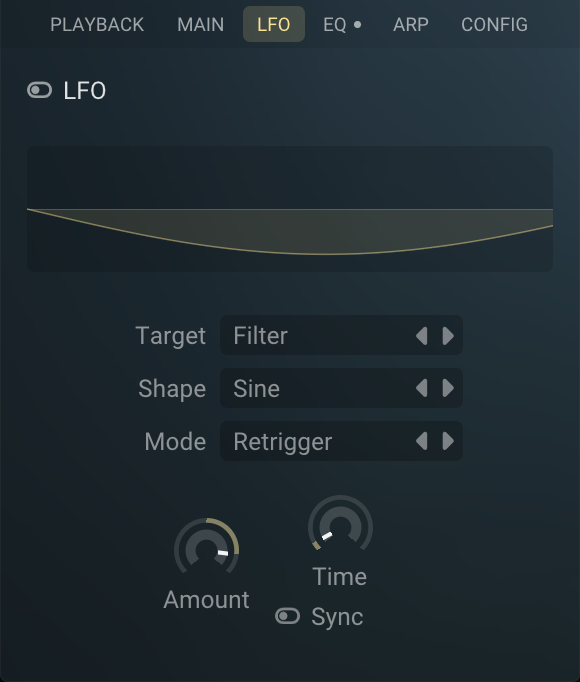
- LFO on/off: enable/disable the Low Frequency Oscillator.
- Waveform display: a live representative preview of the current LFO shape and rate.
- Target: select the parameter that the LFO will modulate: Volume, Filter, Pan, Pitch, or Grain Position. Some targets require their associated feature to be active (e.g. the filter must be enabled, or the play mode must be Granular Fixed).
- Shape: choose the LFO waveform shape.
- Mode: switch between Retrigger — new notes always start with the LFO at the beginning of its cycle — and Free — the LFO runs continuously regardless of note events, so all notes share the same LFO phase.
- Amount: control the intensity of the LFO effect on the target parameter.
- Time: adjust the LFO rate. When Sync is enabled, this is synced to the host tempo (e.g., 1/4 note); when disabled, it operates in Hz.
- Sync: toggle to sync the LFO speed to the host tempo.
EQ Tab
Each layer includes a simple 3-band equaliser to sculpt the frequency content of the audio.
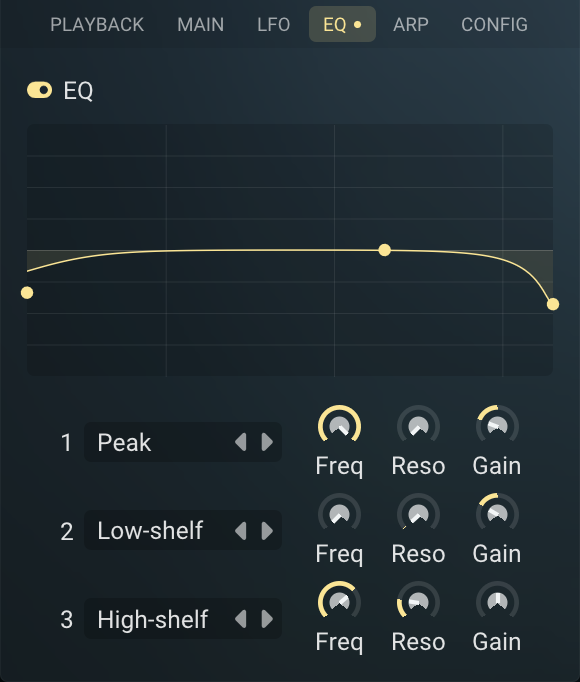
- EQ on/off: toggle to enable or disable the equaliser for this layer.
- EQ graph: a frequency-response display showing the combined effect of all 3 bands. Each band has a draggable point you can move directly on the graph. Use the mouse scroll wheel to change the resonance of the node.
The 3 bands have identical controls:
- Band type selector: click to open a menu of available EQ band types such as peak, low shelf, high shelf.
- Freq: adjust the centre frequency of the EQ band.
- Reso: adjust the resonance (Q factor) of the EQ band, controlling how narrow or wide the frequency band is.
- Gain: this bi-directional control adjusts the gain (boost or cut) applied at the frequency.
Config Tab
The Config tab contains MIDI and playback behaviour settings for this layer.
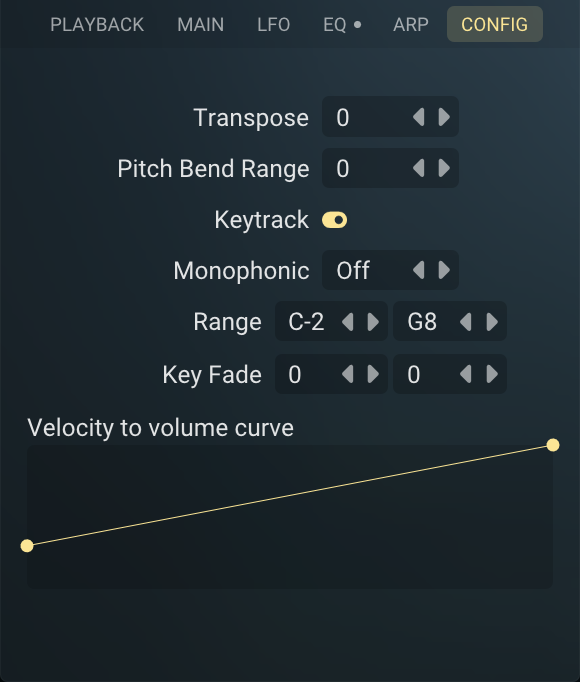
- Transpose: transpose the mapping of samples by the given semitone offset. This is particularly useful for multi-sampled instruments as it triggers different samples rather than algorithmically pitch-shifting the audio (which is what the layer's top control pitch does).
- Pitch Bend Range: set the pitch range in semitones for the MIDI pitch wheel.
- Keytrack: when enabled, tunes the sound to match the key played. When disabled, the sound always plays at its root pitch regardless of the MIDI note. This is not typically useful if the instrument is multi-sampled.
- Monophonic: select the voice behaviour when notes overlap. Off (polyphonic): multiple voices can play simultaneously. Retrigger (monophonic): new notes stop previous notes, triggering their volume envelope Release section. Latch (monophonic): the first note plays until all keys are released; new notes are ignored — useful for drones and textural elements.
- Range and Key Fade: visit the key ranges page for full details about these settings.
- Velocity to volume curve: graphical control showing how MIDI velocity affects the layer's volume. A straight line from bottom-left to top-right means there's a 1:1 relationship with velocity and volume. The curve can be adjusted to create different velocity response characteristics. Visit the MIDI page for full details about editing velocity curves.